Difference between revisions of "Add an Appointment"
| Line 35: | Line 35: | ||
| − | '''Step | + | '''Step eight'''- scroll to the following section in the script |
[[Image:Fillin.jpg]] | [[Image:Fillin.jpg]] | ||
| − | '''Step | + | '''Step nine'''- modify the four red fields by doing the following. Keep the apostrophes (')around the data you enter. |
*@MyMRN- insert the MRN number of a known patient in the test system | *@MyMRN- insert the MRN number of a known patient in the test system | ||
*@MyUser- insert the user name of a known provider in the test system, ie. jmedici | *@MyUser- insert the user name of a known provider in the test system, ie. jmedici | ||
| Line 48: | Line 48: | ||
| − | '''Step | + | '''Step ten'''- press the execute button |
[[Image:Execute.jpg]] | [[Image:Execute.jpg]] | ||
| − | If it worked you will see the following message at the bottom of the window | + | If it worked you will see the following message at the bottom of the window and your appointment will have been created. |
[[Image:Sucess.jpg]] | [[Image:Sucess.jpg]] | ||
Revision as of 18:55, 13 May 2008
There are a couple ways this can be accomplished...
Method 1- via SQL Script
Step one- obtain "AppointmentGenerator.sql" script file
Step two- on Database server launch SQL Server Management Studio
- Located: Start > All Programs > Microsoft SQL Server 2005 > SQL Server Management Studio
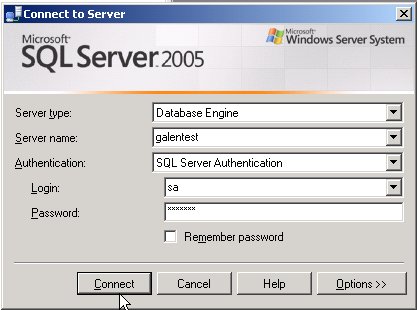
Step three- enter the Login and Password if necessary.
- IMPORTANT: Make sure you have the correct TEST server selected in Server name drop down!
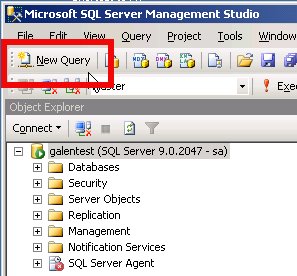
Step Four- click on "New Query". This will open a blank window on the right side of the Management Studio.
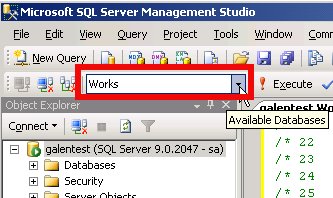
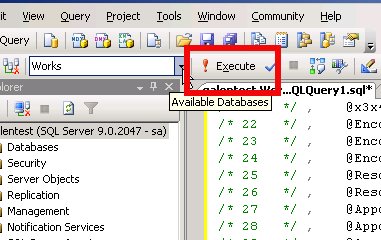
Step five- change the database to "Works" in the dropdown
Step six- open "AppointmentGenerator.sql" in a text editor, such as Wordpad
- Select all text (cntrl-A) and copy (cntrl-C)
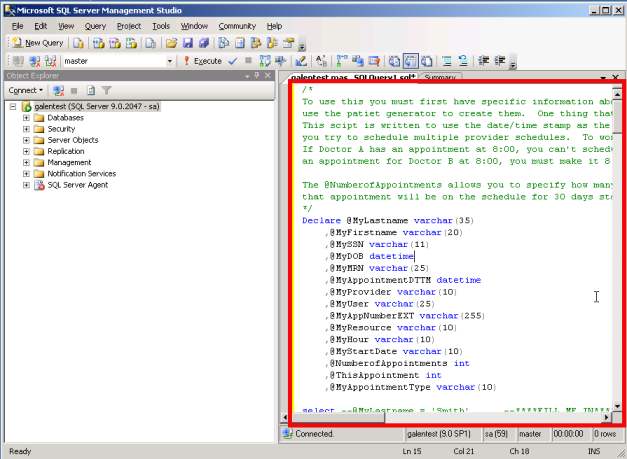
Step seven- Paste (cntrl-V) this text into the window created by the "New Query" button
Step eight- scroll to the following section in the script
Step nine- modify the four red fields by doing the following. Keep the apostrophes (')around the data you enter.
- @MyMRN- insert the MRN number of a known patient in the test system
- @MyUser- insert the user name of a known provider in the test system, ie. jmedici
- @myHour- enter the time for the appointment
- @MyStartDate- Enter the date for the appointment
- @NumberofAppointments- enter how many days the appointment should repeat for, if desired
Step ten- press the execute button
If it worked you will see the following message at the bottom of the window and your appointment will have been created.
Method 2- Using DemoBlaster
Note: DemoBlaster does not work in TW v11.0.X, it has been fixed as of v11.1.x
Step one- Login with TWAdmin
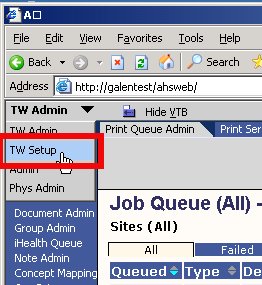
Step two- Select TW Setup from the dropdown
Step three- select "DemoBlaster" on the VTB on the left
Step four- select the provider you wish to use in from the dropdown menu
Step five-
Step five- Click on "New Appt..." in the DemoBlaster window
